Using ink sketch control in a SharePoint form to place markings on an image from Tablets, iPad, or PC
Tuesday, April 05, 2016
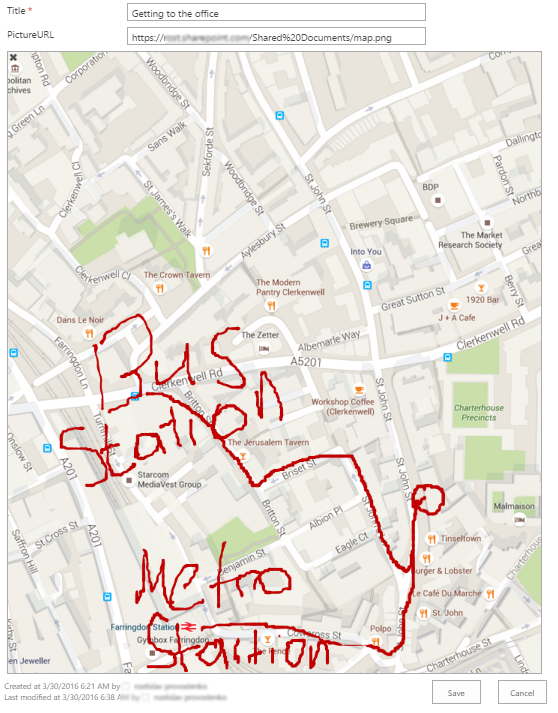
You can use the sketch control of SharePoint Forms Designer to put markings on an image (note, it won’t add markings to the actual image file but rather it will visually place your markings on top of it).
For example, you may wish to allow your users to draw the directions to somewhere on a map:
Or an insurance company may wish to specify damaged parts of a vehicle on its photographs:

To set this up you need to be familiar with the ink sketch control, if you are not please read the article.
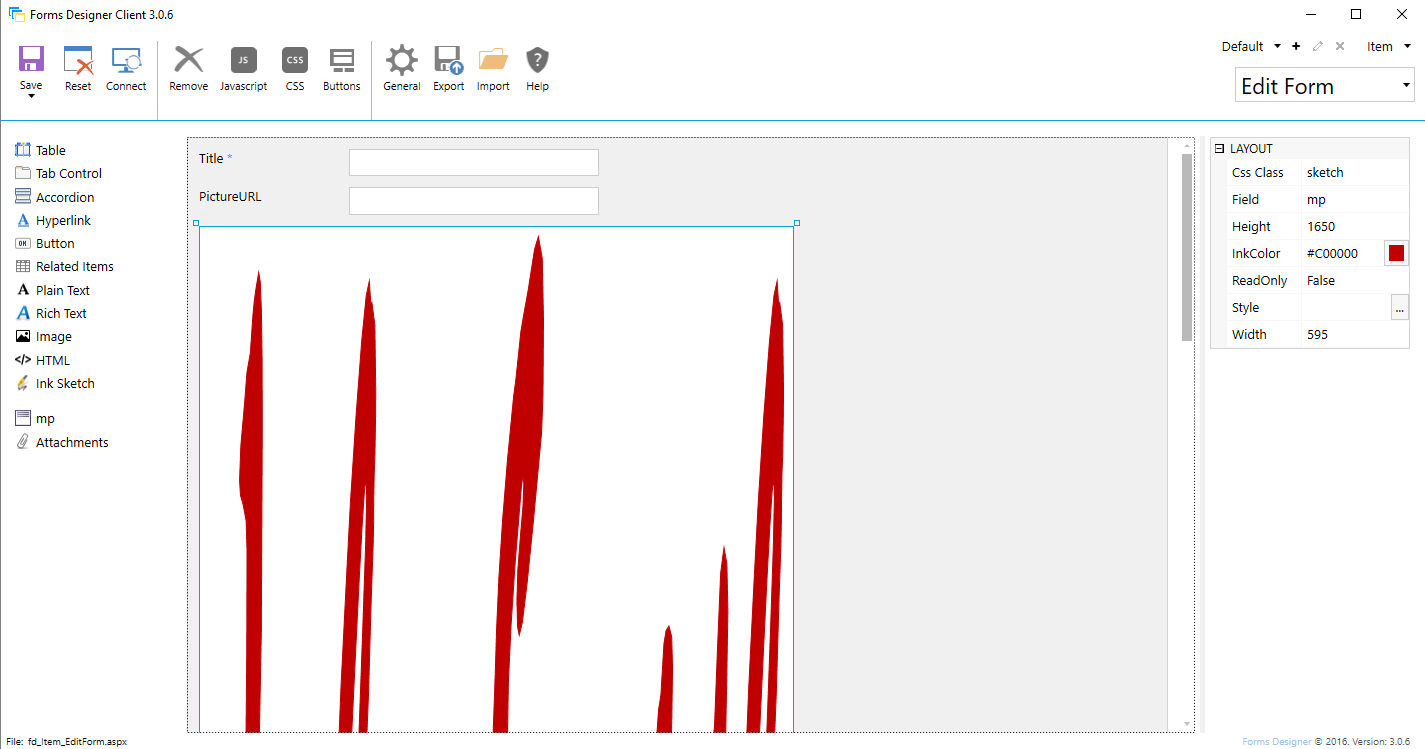
Once you have you ink sketch control set up, you will need to:
- Add a text field to the list, call it PictureURL, place it on the form. This field will contain a URL to the background picture for the ink sketch. Note, you can upload the picture to a document library on you SharePoint site and then just paste the link into this field.
- Add the following JavaScript to the form:
var url = fd.field('PictureURL').value(); $('.sketch').css('background-image', 'url("' + url + '")'); - Add CSS Class ‘sketch’ to the ink sketch control.
- Set the ink sketch’s height and width attributes to those of the image and save.
Now the user will need to enter some URL that points to an image file into the PictureURL field, save, reload the form and he will get the ink sketch with the image as the background.
Recommend this: