Publish a form for anonymous users on a public site in Office 365
In this article I will demonstrate how to design forms for public sites in Office 365 with help of Forms Designer and make them available for anonymous users. As an example, I will create a simple feedback form and place it onto the Contact Us page.
First, we need to create a list to store the requests from anonymous users. I’ve called it ‘Requests’ and configured with the following columns: Phone, Email and Message.

Ok, now I have to grant anonymous users a permission to add new items. Unfortunately, SharePoint Online doesn’t provide an interface to achieve it but there is a third party tool that allows to manage anonymous access:
http://anonymous365.codeplex.com/
Upload the solution above to the catalog:
{your public site domain}/_catalogs/solutions/Forms/AllItems.aspx
Activate it. Next, make sure that the limit of server resources for your public site doesn’t equal to zero in SharePoint admin center or expand the quota otherwise:

Now, you can find ‘Anonymous Access’ button on the ribbon of the list:

Open the Requests list, click ‘Anonymous Access’ and select ‘Allow anonymous users to add items to this list’ option. Now, when we’ve provided users with an access to add items, we can deactivate and remove Wsp365.Anonymous.wsp solution.
Next, lets create a ‘Thank you’ page where the user will be redirected after submission of the form. I’ve made a new publishing page with the following content: ‘Thank you for your message. We will contact you soon.’
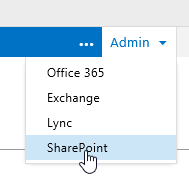
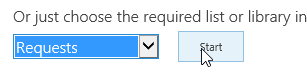
Almost done. Now, we need to design a form and publish it onto the Contact Us page. Start Forms Designer to design a new form: go to the Site Contents page, click Forms Designer app, choose Requests list in the drop-down and click Start:
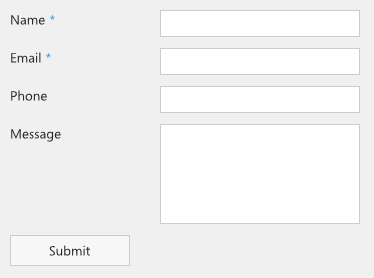
Here is my form:
General settings:

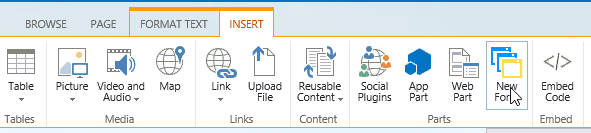
Click Export button on the ribbon to save the form into a file. Open Contact Us page, turn it into Edit mode and insert the exported form:
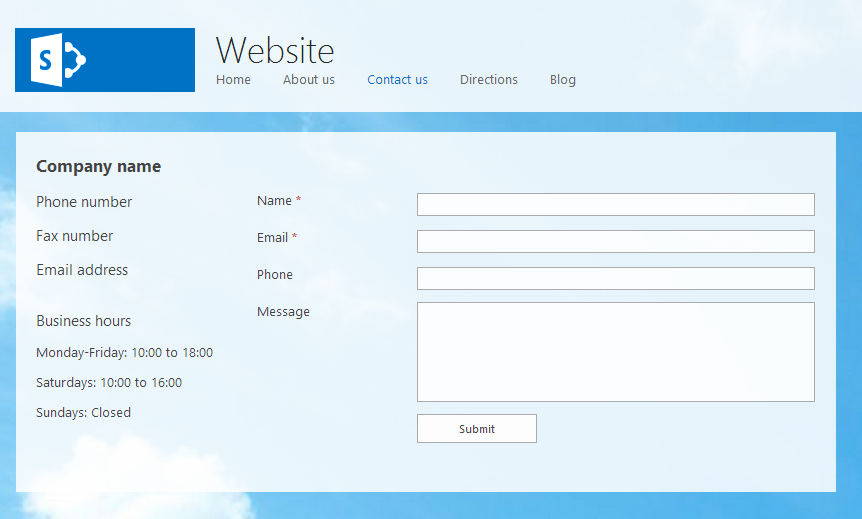
Publish the page. If your form contains required fields, you should fill them in to pass the validation. Here is the result:
With help of our JS-framework you can add extra validation for e-mail and phone number fields if required. Get more information on how to publish forms onto SharePoint pages:
http://www.youtube.com/watch?v=-Lj0dMB-Cww&hd=1
http://spform.com/office-365/publish-designed-form-page-within-current-site
Please, do not hesitate to leave your questions in the comments.