Setting up the view of results in Cross-site Lookup column for SharePoint 2013 and Office 365
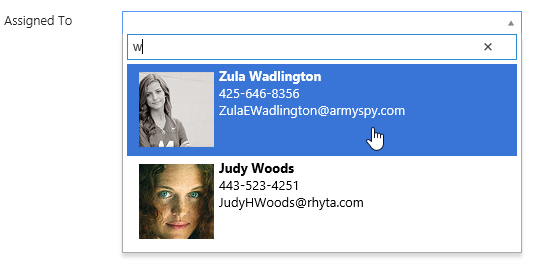
In the previous entry I demonstrated how to create Cross-site Lookup Columns. Now I will show how to use Advanced section fields of Cross-site Lookup column management dialog and how to modify the template of the result set in particular. With our Cross-site Lookup you can add extra fields to the result set to simplify search and navigation through the large lists. Here is illustration from the official website:
I will use the same environment that I created in the previous entry: Countries list in the root site of the root site collection and Target list in the nested site collection.
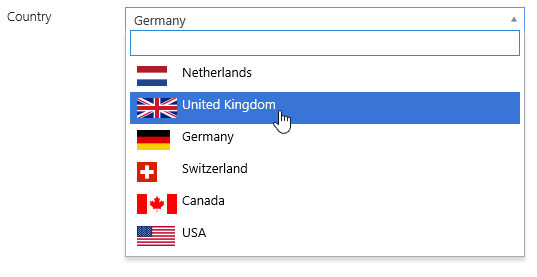
Here I will show how to place the flag near the country name in the lookup result set. First, I added Hyperlink or Picture column and called it Flag. Next, I set flags for all the countries in my list:

Now, go to Target list and open Cross-site lookup management window. Select Country field and expand Advanced settings at the bottom of the dialog.
Here you can find two templates. The first one ‘Request items’ is used to request items from the source list through SharePoint 2013 rest service. Here we can define sorting, additional filtering and searching criteria for result sets. We have to insert our Flag column into select statement to retrieve it from the server and build it into the item template which is used in the result set.
Here is my ‘Request Items’ template:
function (term, page) {
  if (!term || term.length == 0) {
    return "{WebUrl}/_api/web/lists('{ListId}')/items?$select=Id,{LookupField},Flag&$orderby=Created desc&$top=10";
  }

  return "{WebUrl}/_api/web/lists('{ListId}')/items?$select=Id,{LookupField},Flag&$orderby={LookupField}&$filter=startswith({LookupField}, '" + term + "')&$top=10";
}
The second template ‘Item format’ defines the view of an item in the result set. Here we will use our Flag field that will be returned from the server by the request defined in the first template. Here is my ‘Item format’ template:
function(item) {
return '' +
' ' +
item["{LookupField}"] +
'';
}
' +
item["{LookupField}"] +
'';
}Now let’s see what our Country field looks like in the forms:
Excellent! In the following article I will show how to use Cross-site Lookup with Forms Designer and create dependent columns including cascading dropdowns.